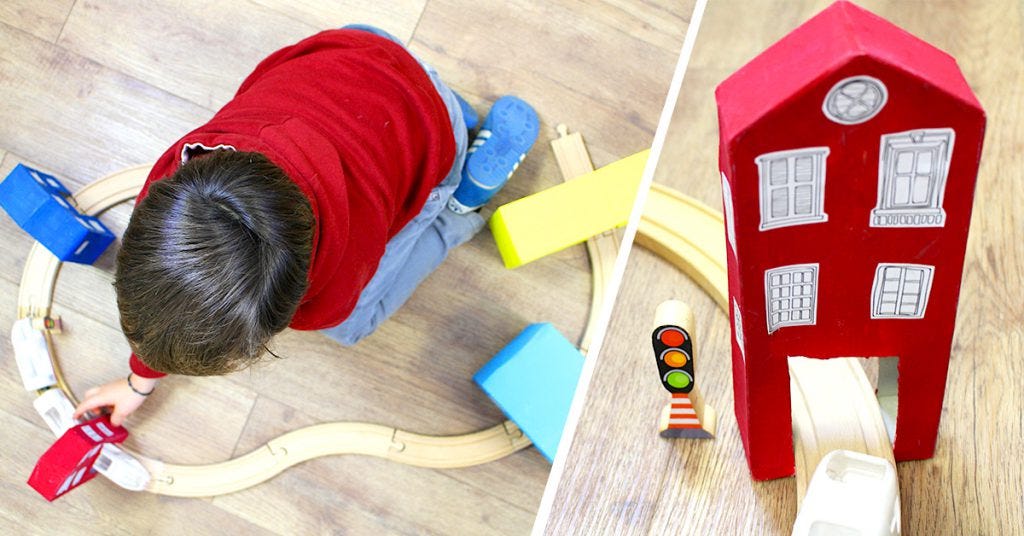
Step 1: start by sanding the boxes that you are going to use.
2
Step 2: trace a guideline at 12cm from the bottom.
3
Step 3: then, draw a little dot in the middle of the box, at 14cm from the bottom.
4
Step 4: draw two lines going from both edges to the dot, to create the roof.
5
Step 5: add a 1cm flap on each side of the roof. Repeat steps 2 to 5 on the other side of your box.
6
Step 6: measure the size of one of the slopes.
7
Step 7: add the obtained total to the 12cm of the beginning and draw a line on each sides of the box, as you can see on the picture.
8
Step 8: add a 1cm flap.
9
Step 9: cut off the outlines of your box.
10
Step 10: glue the flaps to each other to make a roof.
11
Step 11: measure the width of your railway and the height of the train. Outline the tunnel in the middle of the box on one side and repeat at the back.
12
Step 12: cut off the tunnel opening with a cutter.
13
Step 13: you can insert the rails and train to check that the measures are correct.
14
Step 14: glue some newspaper on the roof to smoothen the box's edges and apply a first coat of paint.
15
Step 15: apply a second coat of paint to cover the whole box.
16
Step 17: repeat the previous steps to create houses of different shapes and sizes.
17
Step 18: and you're done! Install the rails and off you go!
Whether your kids love playing with wooden trains or Legos, they will keep playing for hours!