Step 1: download and print the templates, then cut out the shapes using the guidelines.
2
Step 2: draw the outlines of each template with a pen on the thick brown paper.
3
Step 3: cut out the shapes along the dotted guidelines and transpose the guidelines according to the templates. This is essential for the following steps.
4
Step 4: apply glue on the dedicated flap of the semicircle (Shape #1) which will become the hat’s base.
5
Step 5: join both semicircles to make a full circle.
6
Step 6: using a compass, draw a circle at the center of your base.
7
Step 7: cut out the circle you’ve just drawn using a cutter. This hole will be where your little one puts his head.
8
Step 8: to make the upper part of the hat, take Shape #2 and mark the folds as seen on the picture above.
9
Step 9: repeat the previous step by marking every fold on Shape #2. Then, mark the folds on Shape #1.
10
Step 10: cut out the fringes on each end of Shape #2 and apply some glue on each fringe.
11
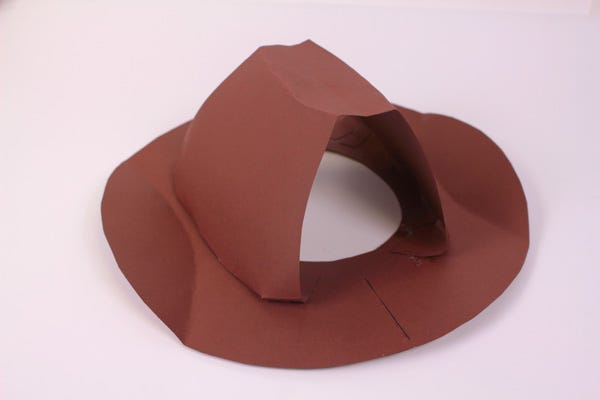
Step 11: start by pressing down one end of Shape #2 (refer to the picture above) and when it’s in place, press down the second end.
12
Step 12: to build the front and back parts of the hat, mark the folds on Shapes #3.
13
Step 13: apply glue on the flaps (refer to the picture above).
14
Step 14: interlock the first part of Shape #3 (refer to the picture above).
15
Step 15: repeat the previous step with the second part of Shape #3.
16
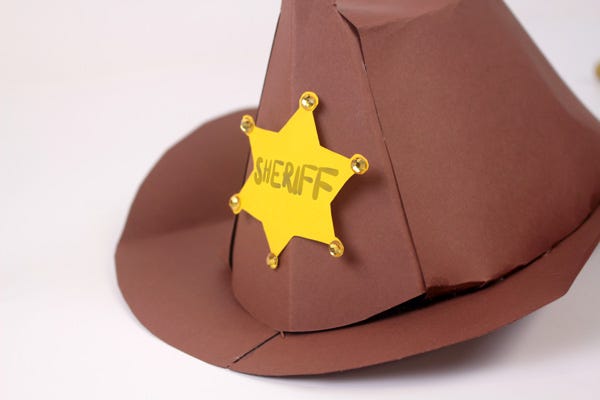
Step 16: apply gold rhinestones on each end of the Sheriff badge and write down « Sheriff » using the gold paint marker. Then, glue it at the front of the hat.
17
Step 17: using the tip of the compass, make a hole big enough to fit the cord. To finish, tie knots on both ends of the cord.
18
Step 18: let the adventures begin! Yeeha!
In need for Carnival costume ideas? Check out our other DIYs:

