Enjoy counting down the days with the kids by making this fun advent calendar!
Essentials
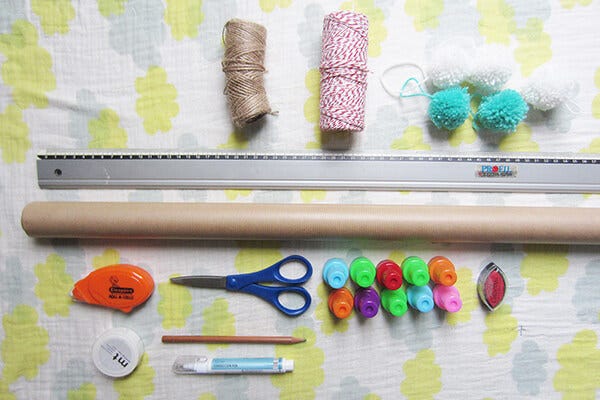
For this DIY, you will need:
a roll of kraft paper
a glue roller
some masking tape
a pencil
scissors
a big ruler
a tippex pen or white paint marker (Posca)
number stamps and an ink pad (but you can write the numbers with a marker)
a sturdy and pretty branch
and… decorations (pompoms, wool…)
Steps
1
Step 1: on the kraft paper, use a pencil to trace some lines lengthwise, with 7,5cm between each line, to make 8 identical strips.
2
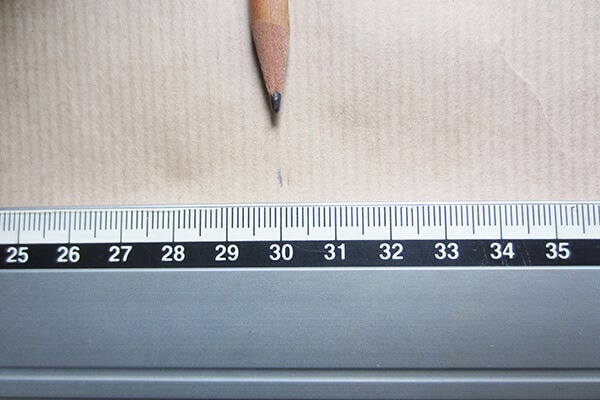
Step 2: draw a small mark every 10cm on each strip until you reach the 60cm mark.
3
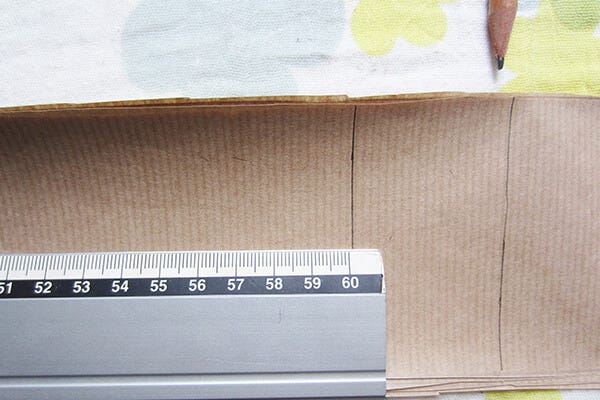
Step 3: then, trace a mark at 64cm on all of the length.
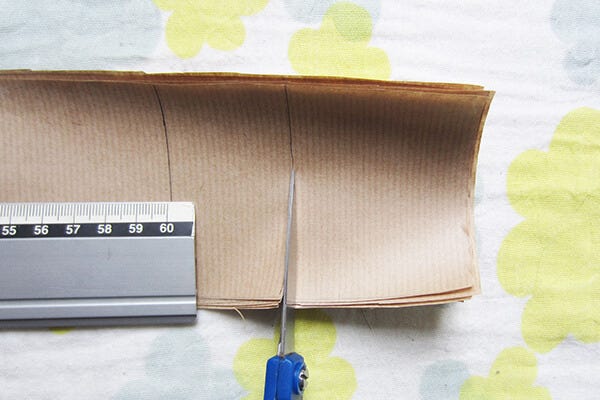
4
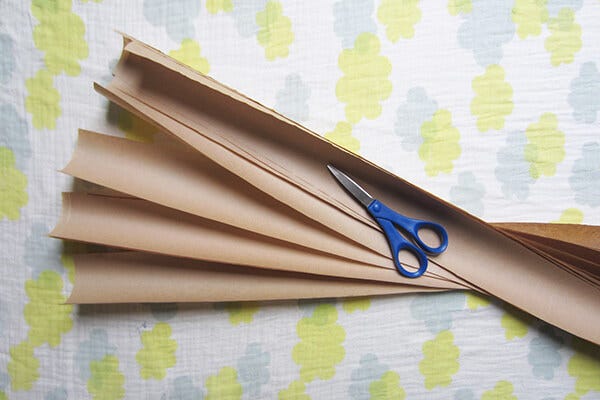
Step 4: then, using scissors, cut the 8 strips on the "64cm mark".
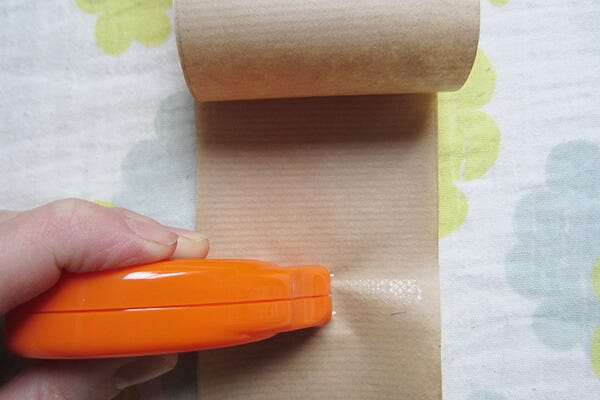
5
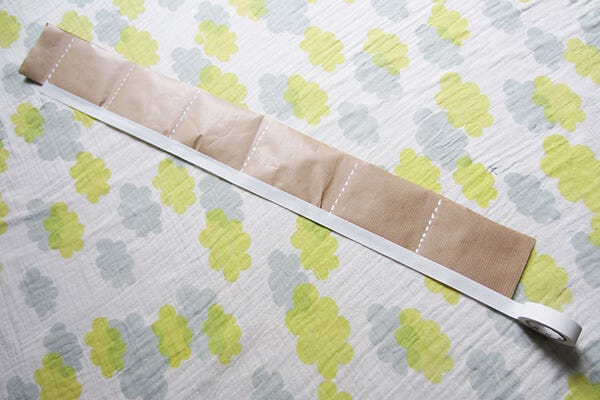
Step 5: add a glue line at the bottom of the strip (mark 0), and above each mark every 10cm.
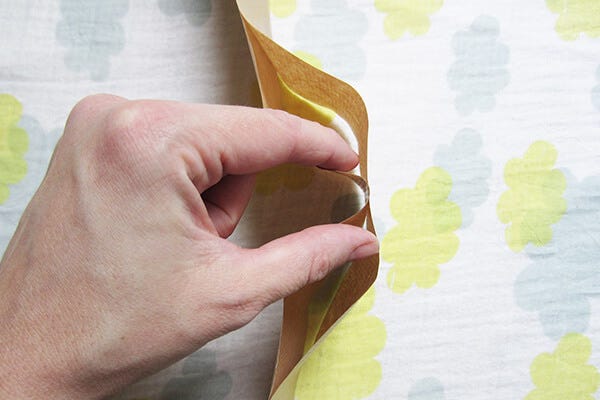
6
Step 6: place and glue a second strip of kraft paper on top to make a strip with 6 'surprise pockets'.
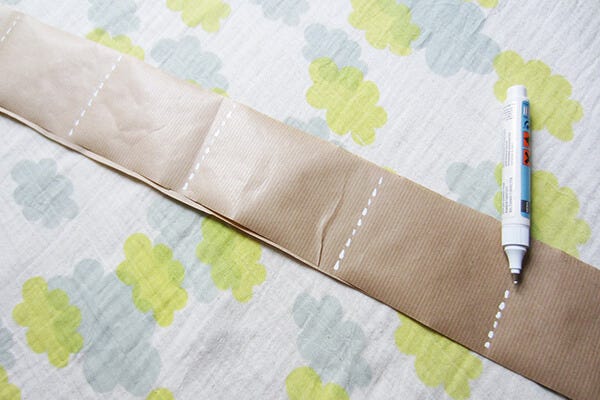
7
Step 7: using the white marker or tippex, create a doted line on each 10 cm mark.
8
Step 8: close one side of the pockets with some white masking tape.
9
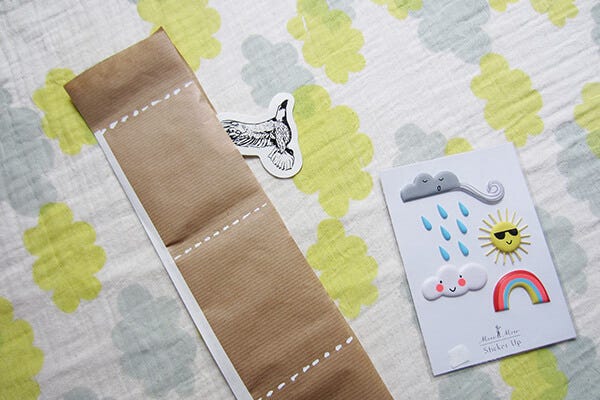
Step 9: fill the pockets with little surprises... and close them up with a second strip of white masking tape.
10
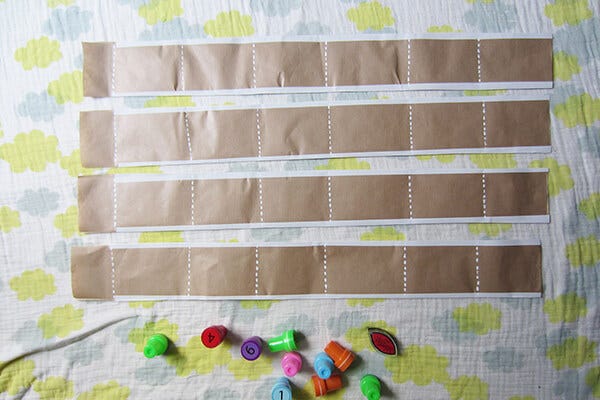
Step 10: repeat the steps 5 to 9 with the rest of the strips to get 4 strips with 6 pockets each.
11
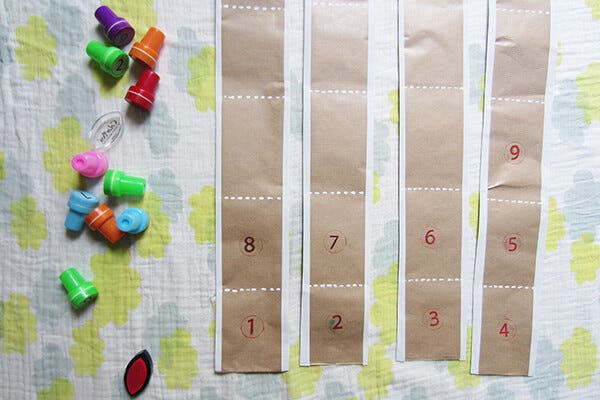
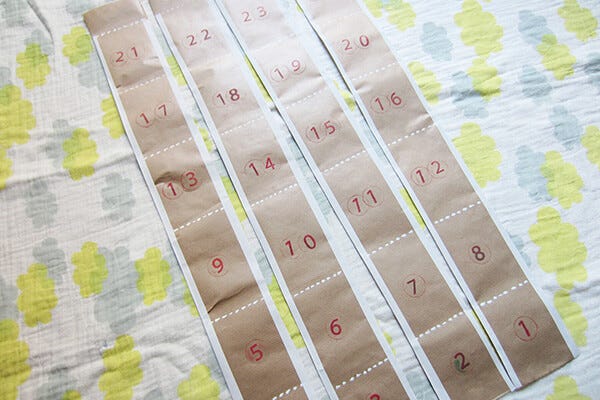
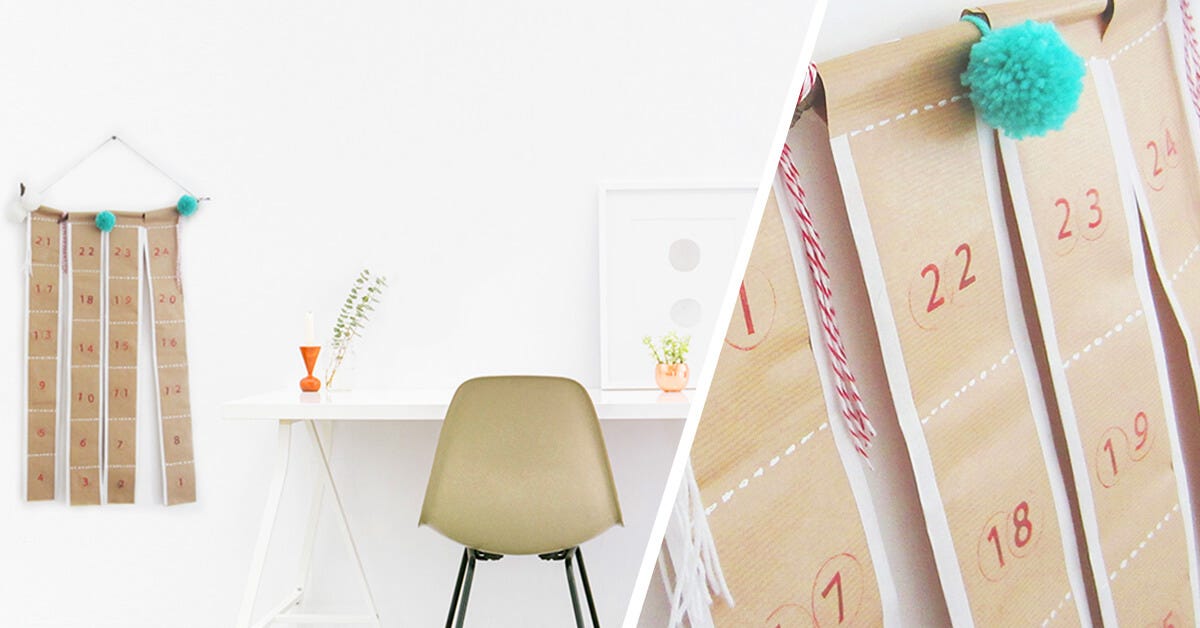
Step 11: using number stamps or a red marker, write down each number from 1 to 24 (like on the picture).
12
Step 12: you should get 4 strips of numbered pockets.
13
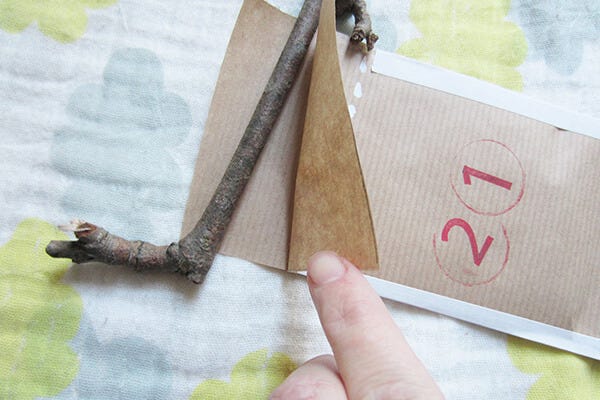
Step 13 : place a wooden stick at the top of the strips and wrap the kraft paper around the stick.
14
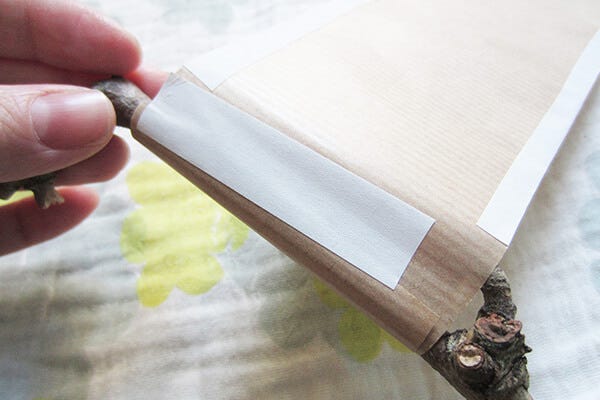
Step 14: and fasten it with some masking tape.
15
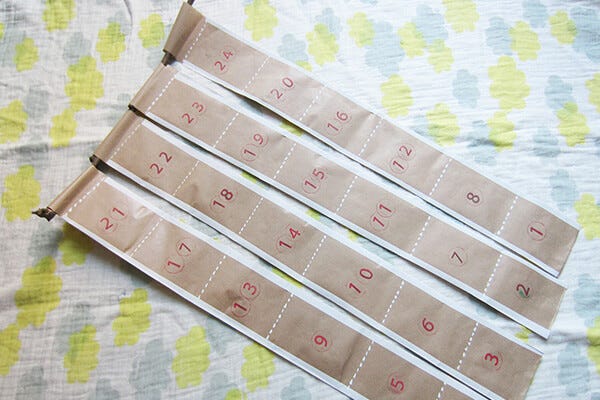
Step 15: and you're done ! You can now decorate your advent calendar with different accessories. Here, we've chosen pompoms and some coloured wool threads!
This pretty DIY was created by Ariane, from the blog Knut Loulou!
Want to make your own pompoms? Check out our Pompom DIY!
